

Getting Started: AI Agents in C#
Learn how to use AI Agents that can reason, use tools and take action to build products.

Large Language Models (LLMs) are everywhere right now - chatbots, copilots, content generation, code assistants.
This walkthrough is your hands-on entry point: we’ll create a basic C# console application that talks to ChatGPT using the OpenAI API.
By the end, you’ll have a working chatbot in your terminal - and a foundation for more advanced things later.
⚠️ Quick, upfront note: API access to the OpenAI LLMs is a paid service. It will require some billing details and an initial deposit. The example we will go through will cost less than a couple of cents (depending on how much chatting you do with your bot). However, if you’d prefer a completely free example, stick around to the end and we will also go through a setup using a local LLM provided by Ollama.
By following this tutorial, you’ll be able to:
.env file and environment variables.First, sign up for an account at openai.com.
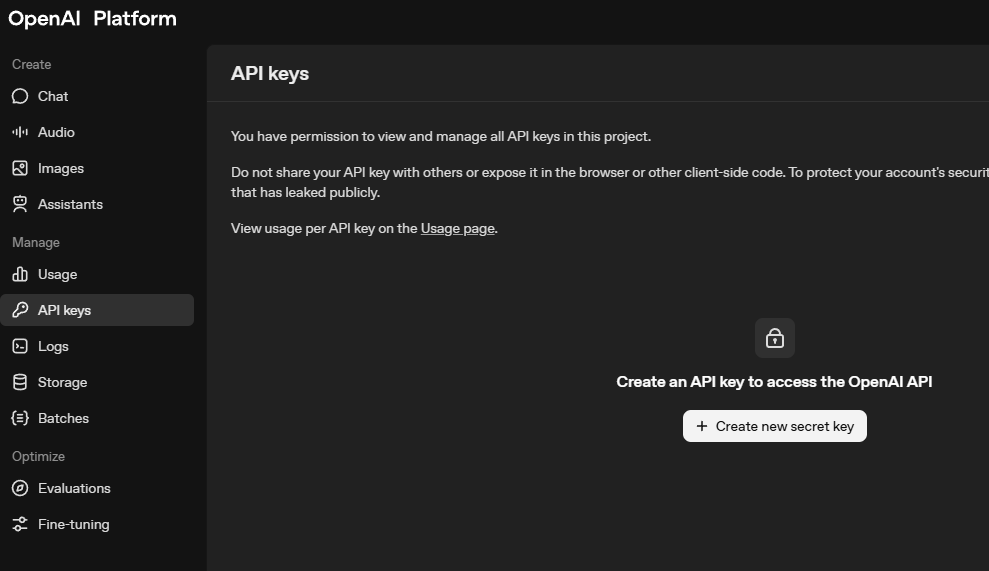
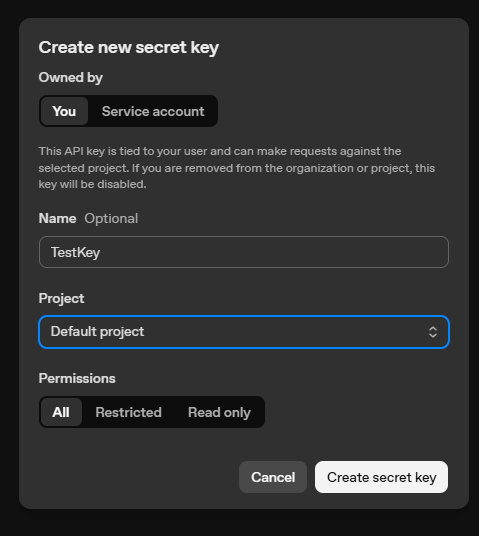
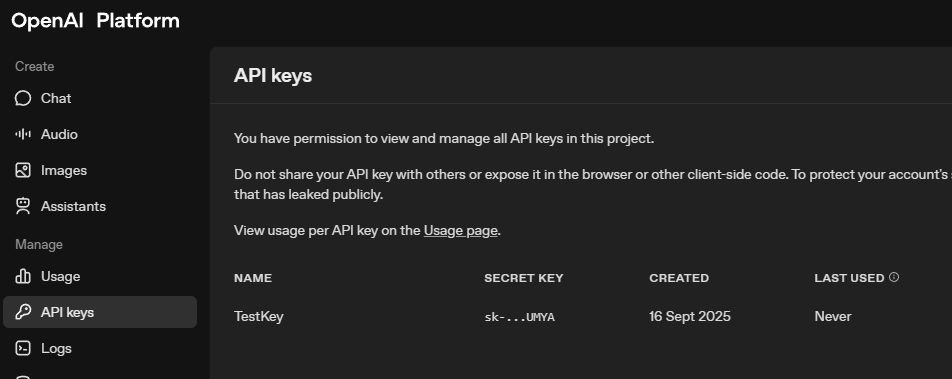
Once you’re in the dashboard:
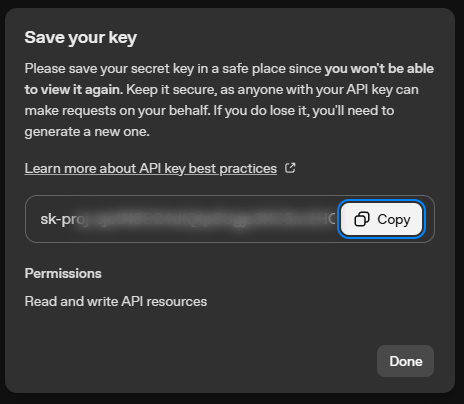
This is the credential your app will use to talk to the API.
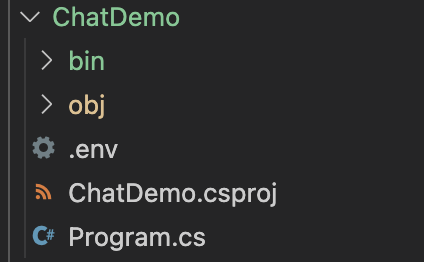
dotnet new console -o ChatDemo
cd ChatDemo
dotnet run
You should see the classic Hello, World! output.

.env fileCreate a .env file in the root of your project:
OpenAI_API_Key=sk-123abc...
If you are using source control for your project, it is good practice to add this .env to .gitignore to exclude it from being committed and pushed to a source repository.
We’re going to use the dotenv.net package to load the data from this env file into our project.
dotnet add package dotenv.net
dotnet add package OpenAI
Replace the contents of Program.cs with:
using dotenv.net;
using OpenAI.Chat;

DotEnv.Load();

var apiKey = Environment.GetEnvironmentVariable("OpenAI_API_Key");
if (string.IsNullOrEmpty(apiKey))
    throw new InvalidOperationException("Missing OpenAI_API_Key in environment variables.");

var client = new ChatClient("gpt-5-nano", apiKey);

var messages = new List<ChatMessage>
{
    new AssistantChatMessage("Hello! What do you want to do today?")
};

Console.WriteLine(messages[0].Content[0].Text);

while (true)
{
    Console.ForegroundColor = ConsoleColor.Blue;
    var input = Console.ReadLine();

    if (input == null || input.Trim().ToLower() == "exit")
        break;

    Console.ResetColor();

    messages.Add(new UserChatMessage(input));

    ChatCompletion completion = await client.CompleteChatAsync(messages);
    var response = completion.Content[0].Text;

    messages.Add(new AssistantChatMessage(response));

    Console.WriteLine(response);
}
Run it with:
dotnet run
You’ll see the assistant’s opening message, then you can type into the console and ChatGPT will reply. Type exit to quit.
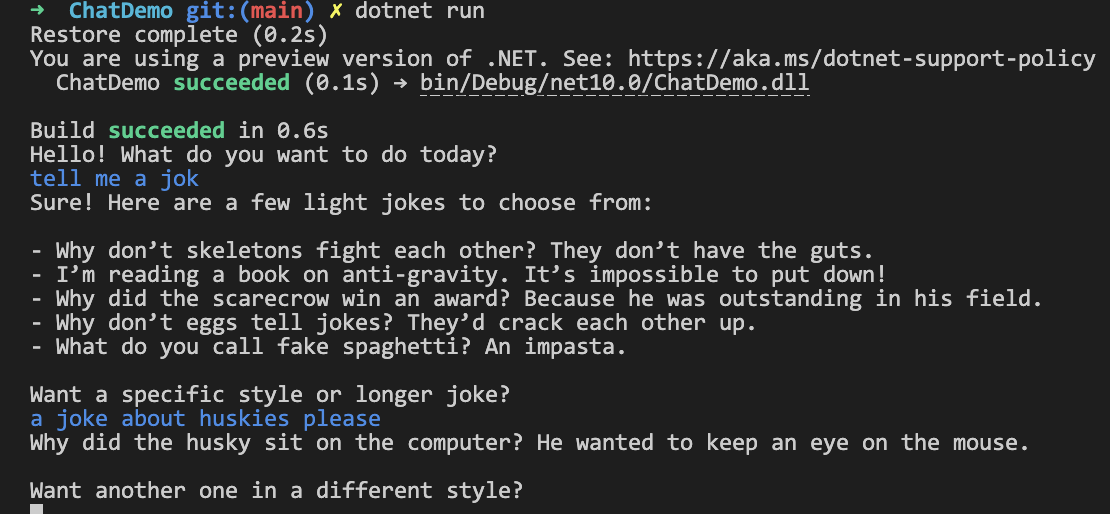
Note: if you get a 429 error at this point, it is likely due to either billing not being enabled or insufficient credit on your OpenAI account.

Let’s walk through the important parts of Program.cs so you know what each piece does.
DotEnv.Load();
var apiKey = Environment.GetEnvironmentVariable("OpenAI_API_Key");
We load the .env file and pull the API key into the program. This keeps secrets out of your code.
var client = new ChatClient("gpt-5-nano", apiKey);
This is the object that sends your requests to OpenAI and gets responses back. We selected the smaller ‘gpt-5-nano’ model, and we’re using our API key to communicate.
var messages = new List<ChatMessage>
{
    new AssistantChatMessage("Hello! What do you want to do today?")
};
We start with an initial assistant message. The messages list will grow over time and represents the full conversation.
while (true)
{
    // read user input
    // send to ChatGPT
    // get a response back
    // print the response
}
This is the chat loop. It runs until you type exit.
messages.Add(new UserChatMessage(input));
ChatCompletion completion = await client.CompleteChatAsync(messages);
Every time you call the model, you send the entire conversation so far. LLMs don’t “remember” past calls.
Think of it like functional programming:
LLMs are the same. If you don’t send the prior messages, the model has no idea what you talked about before.
That’s why in our loop, we keep a growing messages list and pass it on every request.
What we just did: reinforced that ChatGPT isn’t storing your chat history. You are managing it in your program.
var response = completion.Content[0].Text;
messages.Add(new AssistantChatMessage(response));
We save ChatGPT’s answer back into the history so it can influence the next reply.
What we just did: turned our simple while loop into a true chat - by preserving the conversation and resending it each time.
By now you’ve got:
.env.Don’t want to pay for API calls? You can run a model locally with Ollama.
curl -fsSL https://ollama.com/install.sh | sh
Then check:
ollama --version
If the command isn’t found, it means Ollama isn’t installed or not in your PATH.
ollama pull llama3

This downloads Llama 3 (8B) - about 4.7 GB.
dotnet new console -o ChatDemoOllama
cd ChatDemoOllama
dotnet add package OllamaSharp
Replace Program.cs with the below. We are using the same structure but swapping out with the equivalent objects from the OllamaSharp package.
using OllamaSharp;
using OllamaSharp.Models.Chat;

var ollama = new OllamaApiClient(new Uri("http://localhost:11434"), "llama3");

// Conversation history
var history = new List<Message>
{
    new Message { Role = "assistant", Content = "Hello! What do you want to do today?" }
};

Console.WriteLine(history[0].Content);

while (true)
{
    Console.ForegroundColor = ConsoleColor.Blue;
    var input = Console.ReadLine();

    if (input == null || input.Trim().ToLower() == "exit")
        break;

    Console.ResetColor();

    history.Add(new Message { Role = "user", Content = input });

    var request = new ChatRequest { Messages = history };

    Message? lastAssistantMessage = null;

    await foreach (var response in ollama.ChatAsync(request))
    {
        if (lastAssistantMessage == null)
        {
            lastAssistantMessage = new Message { Role = "assistant", Content = "" };
            history.Add(lastAssistantMessage);
        }

        lastAssistantMessage.Content += response.Message?.Content;
        Console.Write(response.Message?.Content);
    }

    Console.WriteLine();
}
Run it:
dotnet run
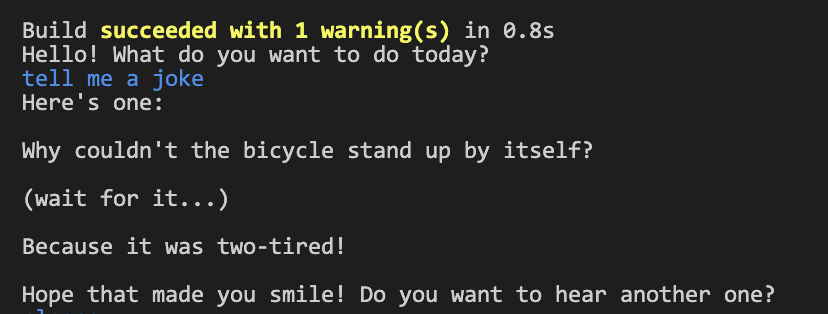
Now you’ve got a chatbot with no API key, no billing, no internet dependency - just local inference.
What you’ve built here is just the beginning. Chatbots are fun, but the real power comes when you start thinking in terms of agents - AI systems that can reason, take actions, and work with external tools.
In our Getting Started: AI Agents in C#, you’ll go beyond simple conversations to learn how to:
👉 If you’re ready to move from a simple chatbot loop to full-scale AI agents in C#, the course is where the fun really starts.

© 2026 Dometrain. All rights reserved.

Generate unlimited coding challenges with AI. Practice C#, Python, TypeScript, and JavaScript in your browser with instant test feedback.
Learn more about AI Code Challenge Generator
Learn how to get started with the Model Context Protocol (MCP) and integrate it into your applications.
Learn more about Getting Started: Model Context Protocol (MCP)
Learn TypeScript through hands-on coding exercises. Practice what you learn with interactive challenges designed for every level.
Learn more about Hands-On: Learn TypeScript
Learn JavaScript through hands-on coding exercises. Practice what you learn with interactive challenges designed for every level.
Learn more about Hands-On: Learn JavaScript
Master data structures and algorithms through hands-on coding exercises in C#. Free to enroll for 7 days!
Learn more about Hands-On: Data Structures & Algorithms in C#
Turn your videos into blogs and newsletters with AI. Check out our new product at blogsmith.ai.
Learn more about Blogsmith.ai
See how you stack up against other learners. Track your progress, climb the ranks, and compete with the Dometrain community.
Learn more about Leaderboard
Learn PostgreSQL through hands-on coding exercises. Practice what you learn with interactive challenges designed for every level.
Learn more about Hands-On: Learn PostgreSQL
Learn C# through hands-on coding exercises. Practice what you learn with interactive challenges designed for everyone, from beginners to experts.
Learn more about Free Hands-On: C# for Beginners
Get started with integrating AI into your .NET applications effectively using the latest LLM best practices.
Learn more about Getting Started: AI for .NET Developers
Learn how to build and deploy .NET applications on AWS using CDK, Lambda, DynamoDB, S3, and more.
Learn more about Getting Started: Building .NET Applications on AWS
This guide covers every new C# 14 feature, explains its benefits, and provides practical code examples to help you navigate how you can use them.
Learn more about What's new in C# 14
Build a Retrieval-Augmented Generation (RAG) chatbot that can answer questions using your data.
Learn more about Let's Build It: AI Chatbot with RAG in .NET Using Your Data
Enable enterprise-grade real-time communication for your web apps with SignalR.
Learn more about From Zero to Hero: SignalR in .NET
Master solution architecture and turn business needs into scalable, maintainable systems.
Learn more about Deep Dive: Solution Architecture
A step-by-step process to migrate ASP.NET Web APIs from .NET Framework to ASP.NET Core.
Learn more about Migrating: ASP.NET Web APIs to ASP.NET Core
Let's make the hardest thing in programming easy for .NET software engineers.
Learn more about Getting Started: Caching in .NET
Learn how to test any codebase in .NET with the latest version of xUnit, the industry-standard testing library.
Learn more about From Zero to Hero: Testing with xUnit in C#
This walkthrough is your hands-on entry point to create a basic C# console application that talks to ChatGPT using the OpenAI API.
Learn more about Create a ChatGPT Console AI Chatbot in C#