

From Zero to Hero: Sending Email with .NET
Learn everything you need to know to send production-grade emails in .NET

Email is everywhere! Notifications, receipts, authentication flows.
This guide is a hands-on walkthrough to help you get your .NET application sending emails, ditching the obsolete System.Net.Mail.SmtpClient class, and using the modern, recommended MailKit (to send), MimeKit (to build messages), and MailPit (to test/receive). Along the way, we’ll provide a bit of context on SMTP (the protocol) and MIME (the standard that extends the format of email messages, allowing for attachments and different character set support).
For development, we’ll run MailPit locally to capture and view emails. It provides:
There are a number of ways to install and run MailPit locally but here we’ll use the Docker approach. If you don’t have Docker, you can download and run the binary directly from the MailPit website.
docker run -d --name mailpit -p 1025:1025 -p 8025:8025 axllent/mailpit
Then open your browser at http://localhost:8025 — MailPit should be running and waiting for messages.
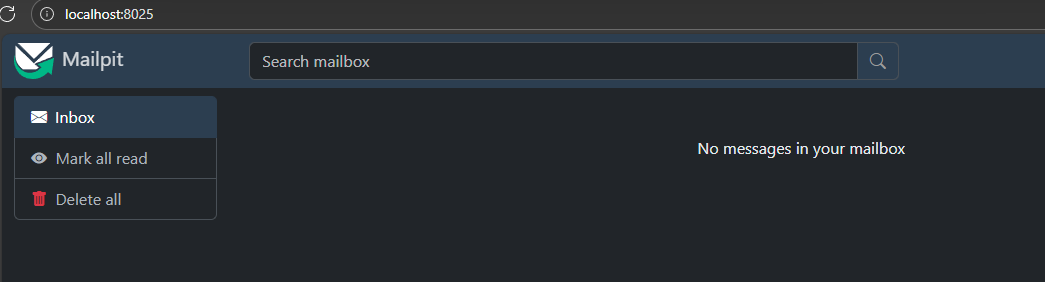
What we just did: started a local SMTP relay (port 1025) and a web UI (port 8025) to catch and inspect emails safely during development.
Reference: MailPit Install Docs
dotnet new console -o MailDemo
cd MailDemo
dotnet add package MailKit
Clear out your Program.cs file, and replace it with the following:
using MimeKit;
using MailKit.Net.Smtp; // ⚠️ make sure this is MailKit, not System.Net.Mail

var msg = new MimeMessage();
msg.From.Add(new MailboxAddress("App", "[email protected]"));
msg.To.Add(new MailboxAddress("User", "[email protected]"));
msg.Subject = "Hello from .NET!";
msg.Body = new TextPart("plain") { Text = "This is a test email." };

using var smtp = new SmtpClient();
await smtp.ConnectAsync("localhost", 1025, false);
await smtp.SendAsync(msg);
await smtp.DisconnectAsync(true);
Note: We are using the SmtpClient class from MailKit.Net.Smtp, not the obsolete System.Net.Mail namespace.
Now run dotnet run, navigate to your MailPit inbox (http://localhost:8025), and you should see the email your app just created and sent!
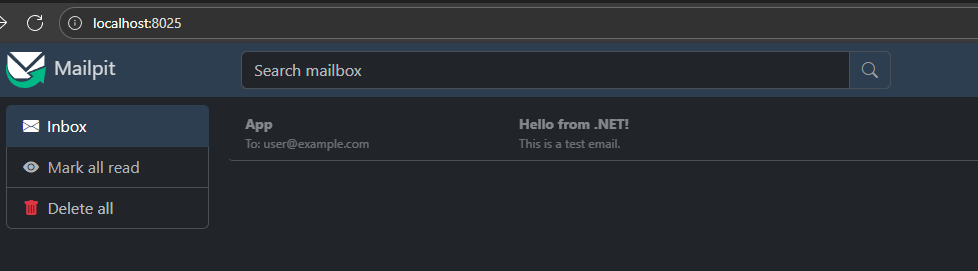
What we just did: Created a new .NET console app, and added some code which sends a plaintext email to our local MailPit SMTP server.
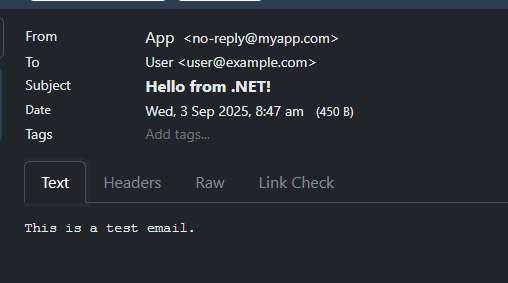
Let’s take another look at the message we have just sent using the ‘Headers’ and ‘Raw’ tabs in MailPit.
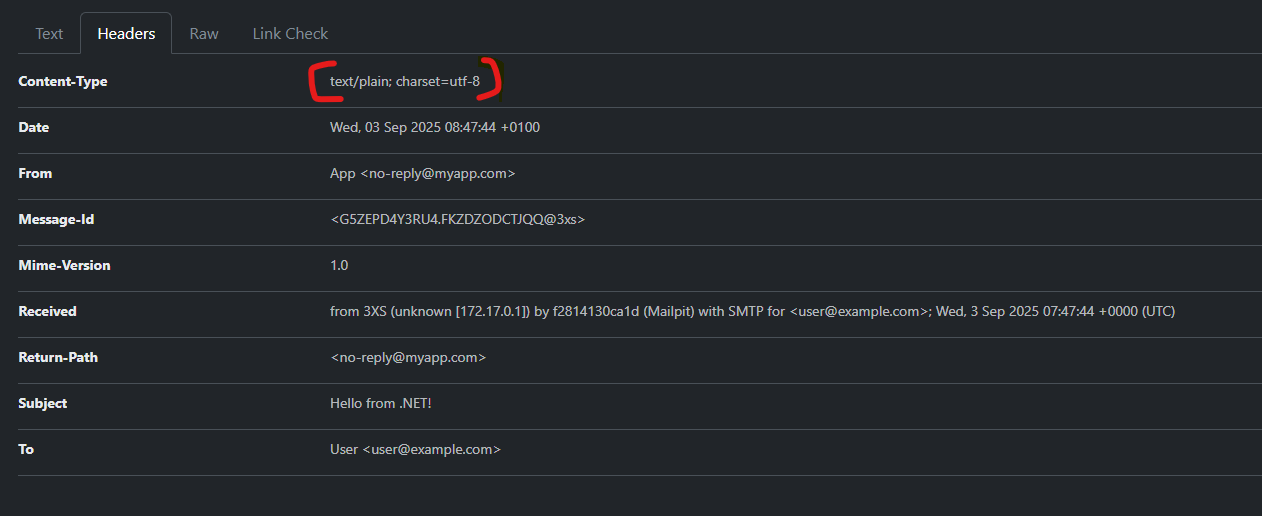
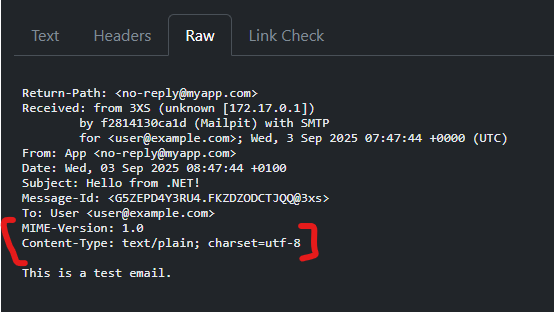
Our first email sent a basic plain-text message. This works because SMTP, the protocol that underpins email, was originally designed in the early 1980s to transmit nothing more than 7-bit ASCII text. That’s fine for simple messages, but it has drawbacks:
This is where MIME (Multipurpose Internet Mail Extensions) comes in. MIME is a standard that extends the format of email messages. It allows:
MIME is basically a way to encode any kind of data as 7-bit ASCII, and have the email client decode at the other end.
With MailKit and MimeKit, you don’t need to worry about manually writing MIME headers — the libraries generate the correct structure for you. All you do is declare what you want: HTML body, an attachment, or an inline resource.
Let’s spice up our messages step by step.
Replace the line
message.Body = new TextPart("plain") { Text = "This is a test email." };
with
var bb = new BodyBuilder();
bb.TextBody = "This is a test email.";
bb.HtmlBody = "<h1>Hello World</h1><p>This is <b>HTML</b> email.</p>";
message.Body = bb.ToMessageBody();
Run the program again and view the new email in MailPit.
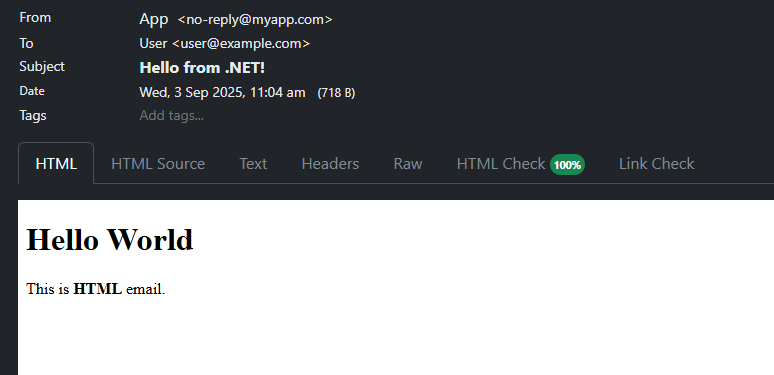
We can see that our email is now coming through in HTML as expected. By clicking the Text tab, we can see that we are still sending the original text version as well.
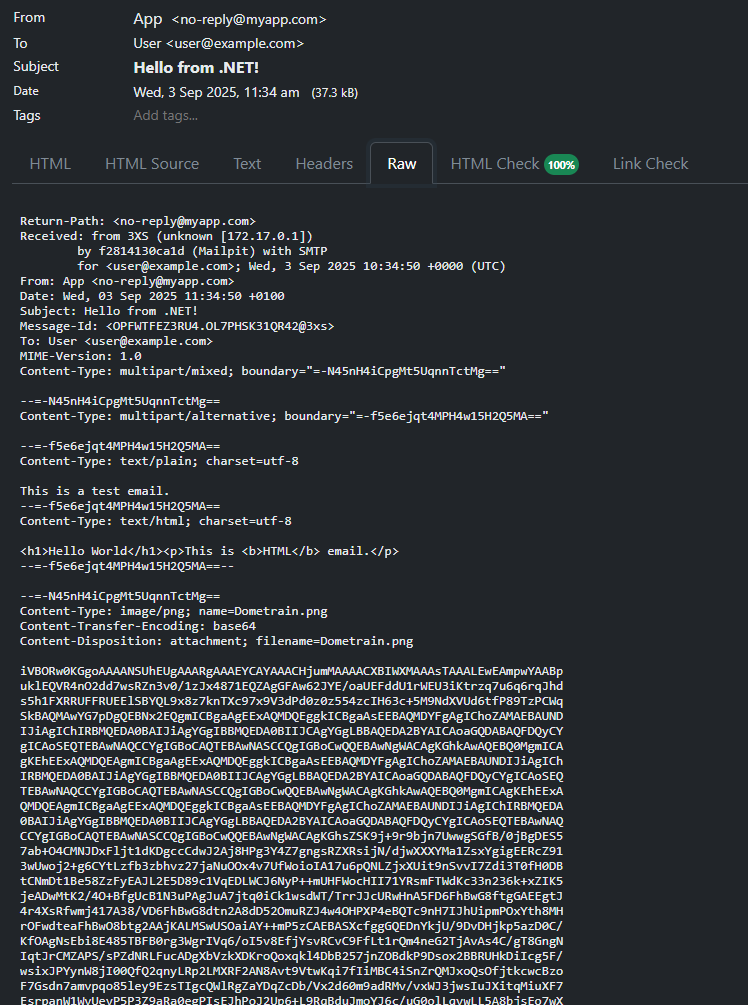
Digging a bit under the hood, we can select the Raw tab to see how the MimeKit library and BodyBuilder class have constructed this multipart email using the MIME standard.

The main Content-Type is set to multipart/alternative with a generated boundary string (a unique string of ASCII characters). This is then used to split the subsections for our text/plain and text/html bodies.
What we just did: used MimeKit’s BodyBuilder to replace our plain-text message body with a multipart body that includes both plain text and HTML.
Sometimes you want to send more than just text — invoices, PDFs, images, or reports.
With MimeKit, attachments are handled through the BodyBuilder.Attachments collection.
Update your code and add an attachment like this:
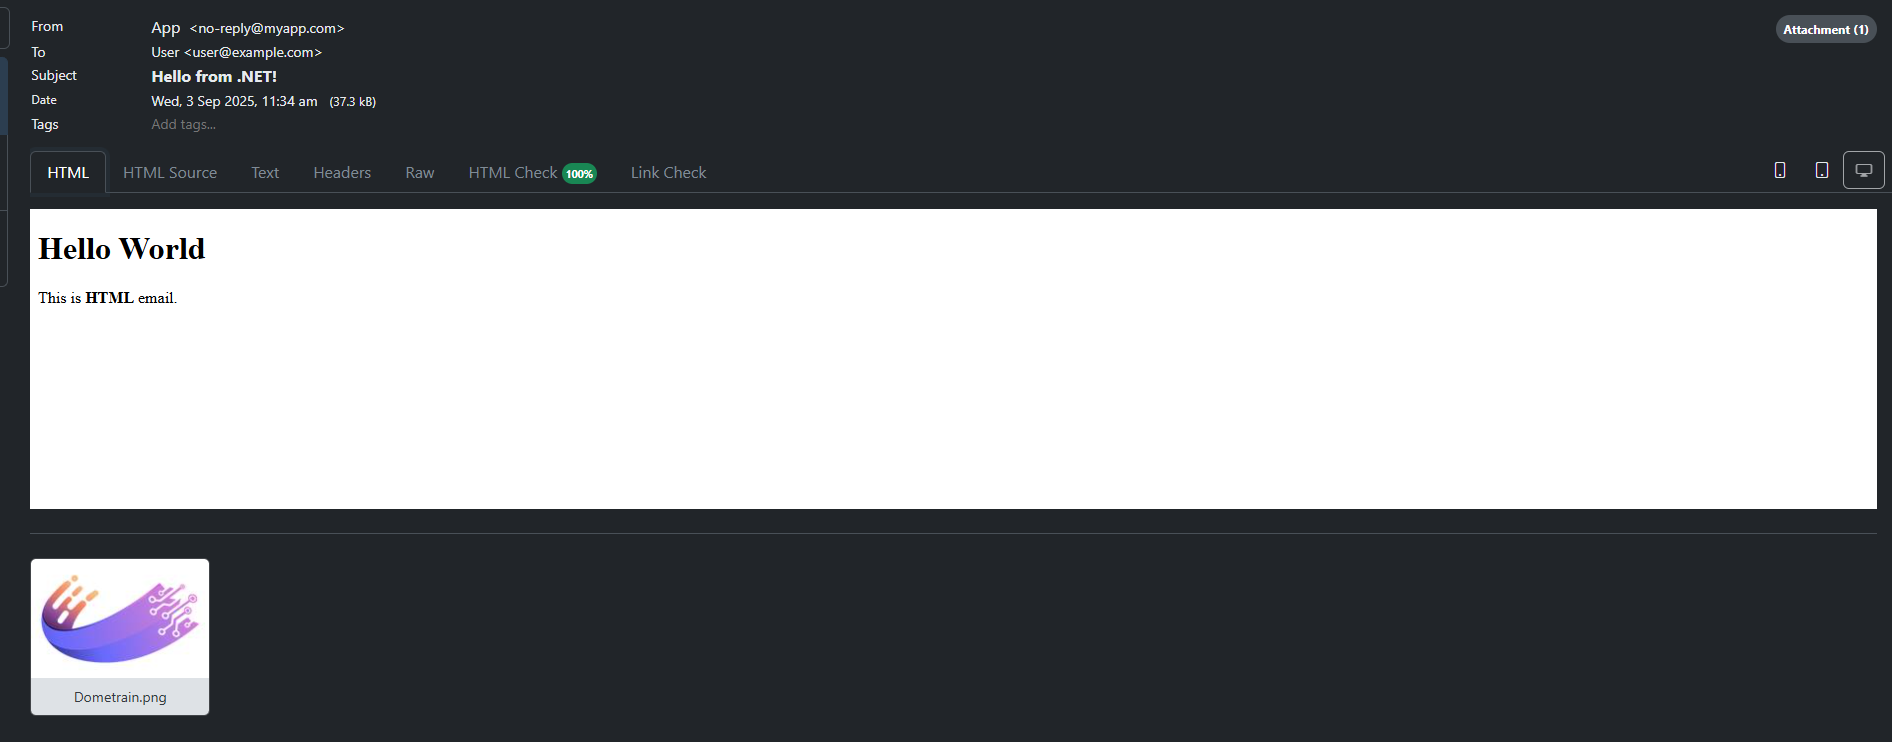
bb.Attachments.Add("Dometrain.png");
Run the program again and check MailPit. You should see the attachment listed in the UI.
Behind the scenes, MimeKit has taken care of:
There is also the inline alternative: add the image as a LinkedResource and embed it directly in the HTML.
var img = bb.LinkedResources.Add("Dometrain.png");
img.ContentId = MimeUtils.GenerateMessageId();
bb.HtmlBody = $"<img src=\"cid:{img.ContentId}\">";
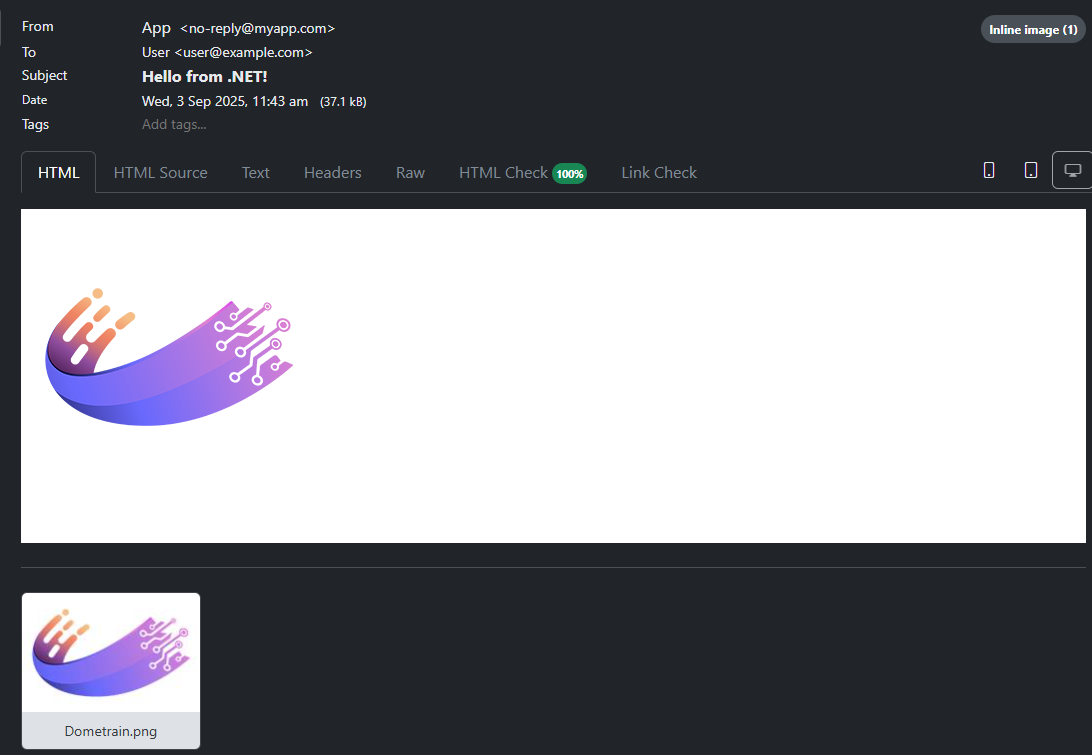
Note: as seen above, MailPit will also unpack the inline image / linked resource as an attachment. Each email client can handle this differently and you have limited control as the sender.
What we just did: added a file attachment to our email. MimeKit handled the MIME encoding and headers automatically — we just told it which file to attach.
We started with the basics — getting a console app to send a plain-text email through MailPit — and then layered on richer capabilities:
If you want to go further into production-ready email systems, check out our courses where we cover all of the above plus:
MimeMessage objects to guarantee the right mail goes out.System.Net.Mail.SmtpClient.
© 2026 Dometrain. All rights reserved.

Generate unlimited coding challenges with AI. Practice C#, Python, TypeScript, and JavaScript in your browser with instant test feedback.
Learn more about AI Code Challenge Generator
Learn how to get started with the Model Context Protocol (MCP) and integrate it into your applications.
Learn more about Getting Started: Model Context Protocol (MCP)
Learn TypeScript through hands-on coding exercises. Practice what you learn with interactive challenges designed for every level.
Learn more about Hands-On: Learn TypeScript
Learn JavaScript through hands-on coding exercises. Practice what you learn with interactive challenges designed for every level.
Learn more about Hands-On: Learn JavaScript
Master data structures and algorithms through hands-on coding exercises in C#. Free to enroll for 7 days!
Learn more about Hands-On: Data Structures & Algorithms in C#
Turn your videos into blogs and newsletters with AI. Check out our new product at blogsmith.ai.
Learn more about Blogsmith.ai
See how you stack up against other learners. Track your progress, climb the ranks, and compete with the Dometrain community.
Learn more about Leaderboard
Learn PostgreSQL through hands-on coding exercises. Practice what you learn with interactive challenges designed for every level.
Learn more about Hands-On: Learn PostgreSQL
Learn C# through hands-on coding exercises. Practice what you learn with interactive challenges designed for everyone, from beginners to experts.
Learn more about Free Hands-On: C# for Beginners
Get started with integrating AI into your .NET applications effectively using the latest LLM best practices.
Learn more about Getting Started: AI for .NET Developers
Learn how to build and deploy .NET applications on AWS using CDK, Lambda, DynamoDB, S3, and more.
Learn more about Getting Started: Building .NET Applications on AWS
This guide covers every new C# 14 feature, explains its benefits, and provides practical code examples to help you navigate how you can use them.
Learn more about What's new in C# 14
Build a Retrieval-Augmented Generation (RAG) chatbot that can answer questions using your data.
Learn more about Let's Build It: AI Chatbot with RAG in .NET Using Your Data
Enable enterprise-grade real-time communication for your web apps with SignalR.
Learn more about From Zero to Hero: SignalR in .NET
Master solution architecture and turn business needs into scalable, maintainable systems.
Learn more about Deep Dive: Solution Architecture
A step-by-step process to migrate ASP.NET Web APIs from .NET Framework to ASP.NET Core.
Learn more about Migrating: ASP.NET Web APIs to ASP.NET Core
Let's make the hardest thing in programming easy for .NET software engineers.
Learn more about Getting Started: Caching in .NET
Learn how to test any codebase in .NET with the latest version of xUnit, the industry-standard testing library.
Learn more about From Zero to Hero: Testing with xUnit in C#
This walkthrough is your hands-on entry point to create a basic C# console application that talks to ChatGPT using the OpenAI API.
Learn more about Create a ChatGPT Console AI Chatbot in C#